Iridient X-Transformer : Awakening the true potential of the Fuji X raw file
You can find Iridient X-Transformer HERE.
You can find my X-Transformer settings HERE.
You can download some comparison files HERE.
You can find many processed Fuji X-Pro2 shots next to some Nikon and Sony shots in this Flickr Album.
From the build quality to great feeling tactility and mechanical feedback, the Fuji X system has been a joyful system that always offered me a lot of fun factor during the use experience. However, I've always been turned off the resulting "waxy" RAW files when it came the time to process my pictures through my usual workflow (Photo mechanic into Adobe Lightroom into Photoshop). Back in the days, Iridient Developer would be the only software capable of properly reading the RAF files and giving them the necessary pixel detail to appreciate the quality of the gear used. The biggest drawback of that software was its dreadfully slow responsiveness and its inferior unintuitive interface to Lightroom.
I gave up on it.
LeicaQ DNG vs Fuji Watercolor RAF compared in Lightroom CC latest version
Months have passed by and after the completion of my Nikon system and the decision to keep the Sony RX100ii as my everyday carry camera, I began looking for something between my D750 and my RX100ii to use for pure leisure. Such camera would need to retain much of the image quality of the fullframe dSLR. While I fell in love with the LeicaQ at first, it was clear that the "Made in Germany" jewel demanded a premium I couldn't realistically afford. I began to fall back on my friend's Fuji XPro2. Determined to make it work, I purchased Iridient Digital's X-Transformer, a RAF to DNG converter that applies Iridient's Fuji RAW reading method to a DNG file that Adobe softwares can interpret like my Nikon and Sony raw files. This brought the waxy Fuji files (which felt nearly worse than my rx100ii's files) to nearly the level of my D750's.
LeicaQ DNG vs X-Transformer Converted Fuji DNG compared in Lightroom CC latest version
Here are my findings on this miracle.
This lengthy but simply written blog article will cover most of the subject on this converter. The content of this page is best viewed on a computer screen rather than a phone since it’s quite image heavy and full of thumbnails.
Why not shoot JPG?
Lightroom CC latest version
While Fuji JPGs are pleasing to most Fuji users, I prefer exploring the full potential of the Fuji raw file in order to reach a level of visual fidelity to the content I chose to capture. When shot at Auto DR + Auto ISO + Exposure compensation Zero, the resulting file allows an insane level of flexibility with full highlight and shadow recovery (unlike my Nikon NEFs which only allow shadow recovery).
Why not use Capture One 10 Fuji Edition?
I tried C1 multiple times in my life. While I can understand its use for absolute images, it lacks the workflow speed and intuitiveness of Lightroom which I use on a daily basis for a living. Last time I spoke with the Fuji representatives, they told me Fuji simply paid Capture One to have the name appear next to the software name without much optimization. As such, C1 and C1 Fuji is one and the same. Since C1 offered marginal improvements to my results at the sacrifice of a steep learning curve and inferior "file stretching" abilities, I chose to continue working with Lightroom.
What is Iridient X-Transformer?
It's a RAW converter that converts Fuji RAF files to DNG files using Iridient Digital's method of reading the Fuji RAF file, such reading method is superior to Adobe's way. Think of this as an independent and better translator that perfectly transcribes Fuji language into Adobe language instead of using Adobe's house translator. At the price of 43$ CAD, it's a no brainer as it is about as cheap as a memory card.
A Better Translator?
Yes. Since Fuji's Xtrans sensor array is different from that of typical Bayer camera sensors, the sequence of colors is usually confused by the Adobe Camera Raw engine. Therefore, Adobe is prone to skip colors and create voids of information that will need blending later on. This generates the "waxy watercolor" effect that many would notice on foliage and fine detail. Since X-Transformer rearranges the Xtrans color array into a typical Bayer array, the resulting digital negative will appear in Adobe softwares without the usual artifacts.
The results compared
Here are some examples (you can download the raw files HERE for personal use only). For the sake of this page, I have compressed them, but they can be found in max quality in the zip file. I have included more images in the zip file for further personal comparisons.
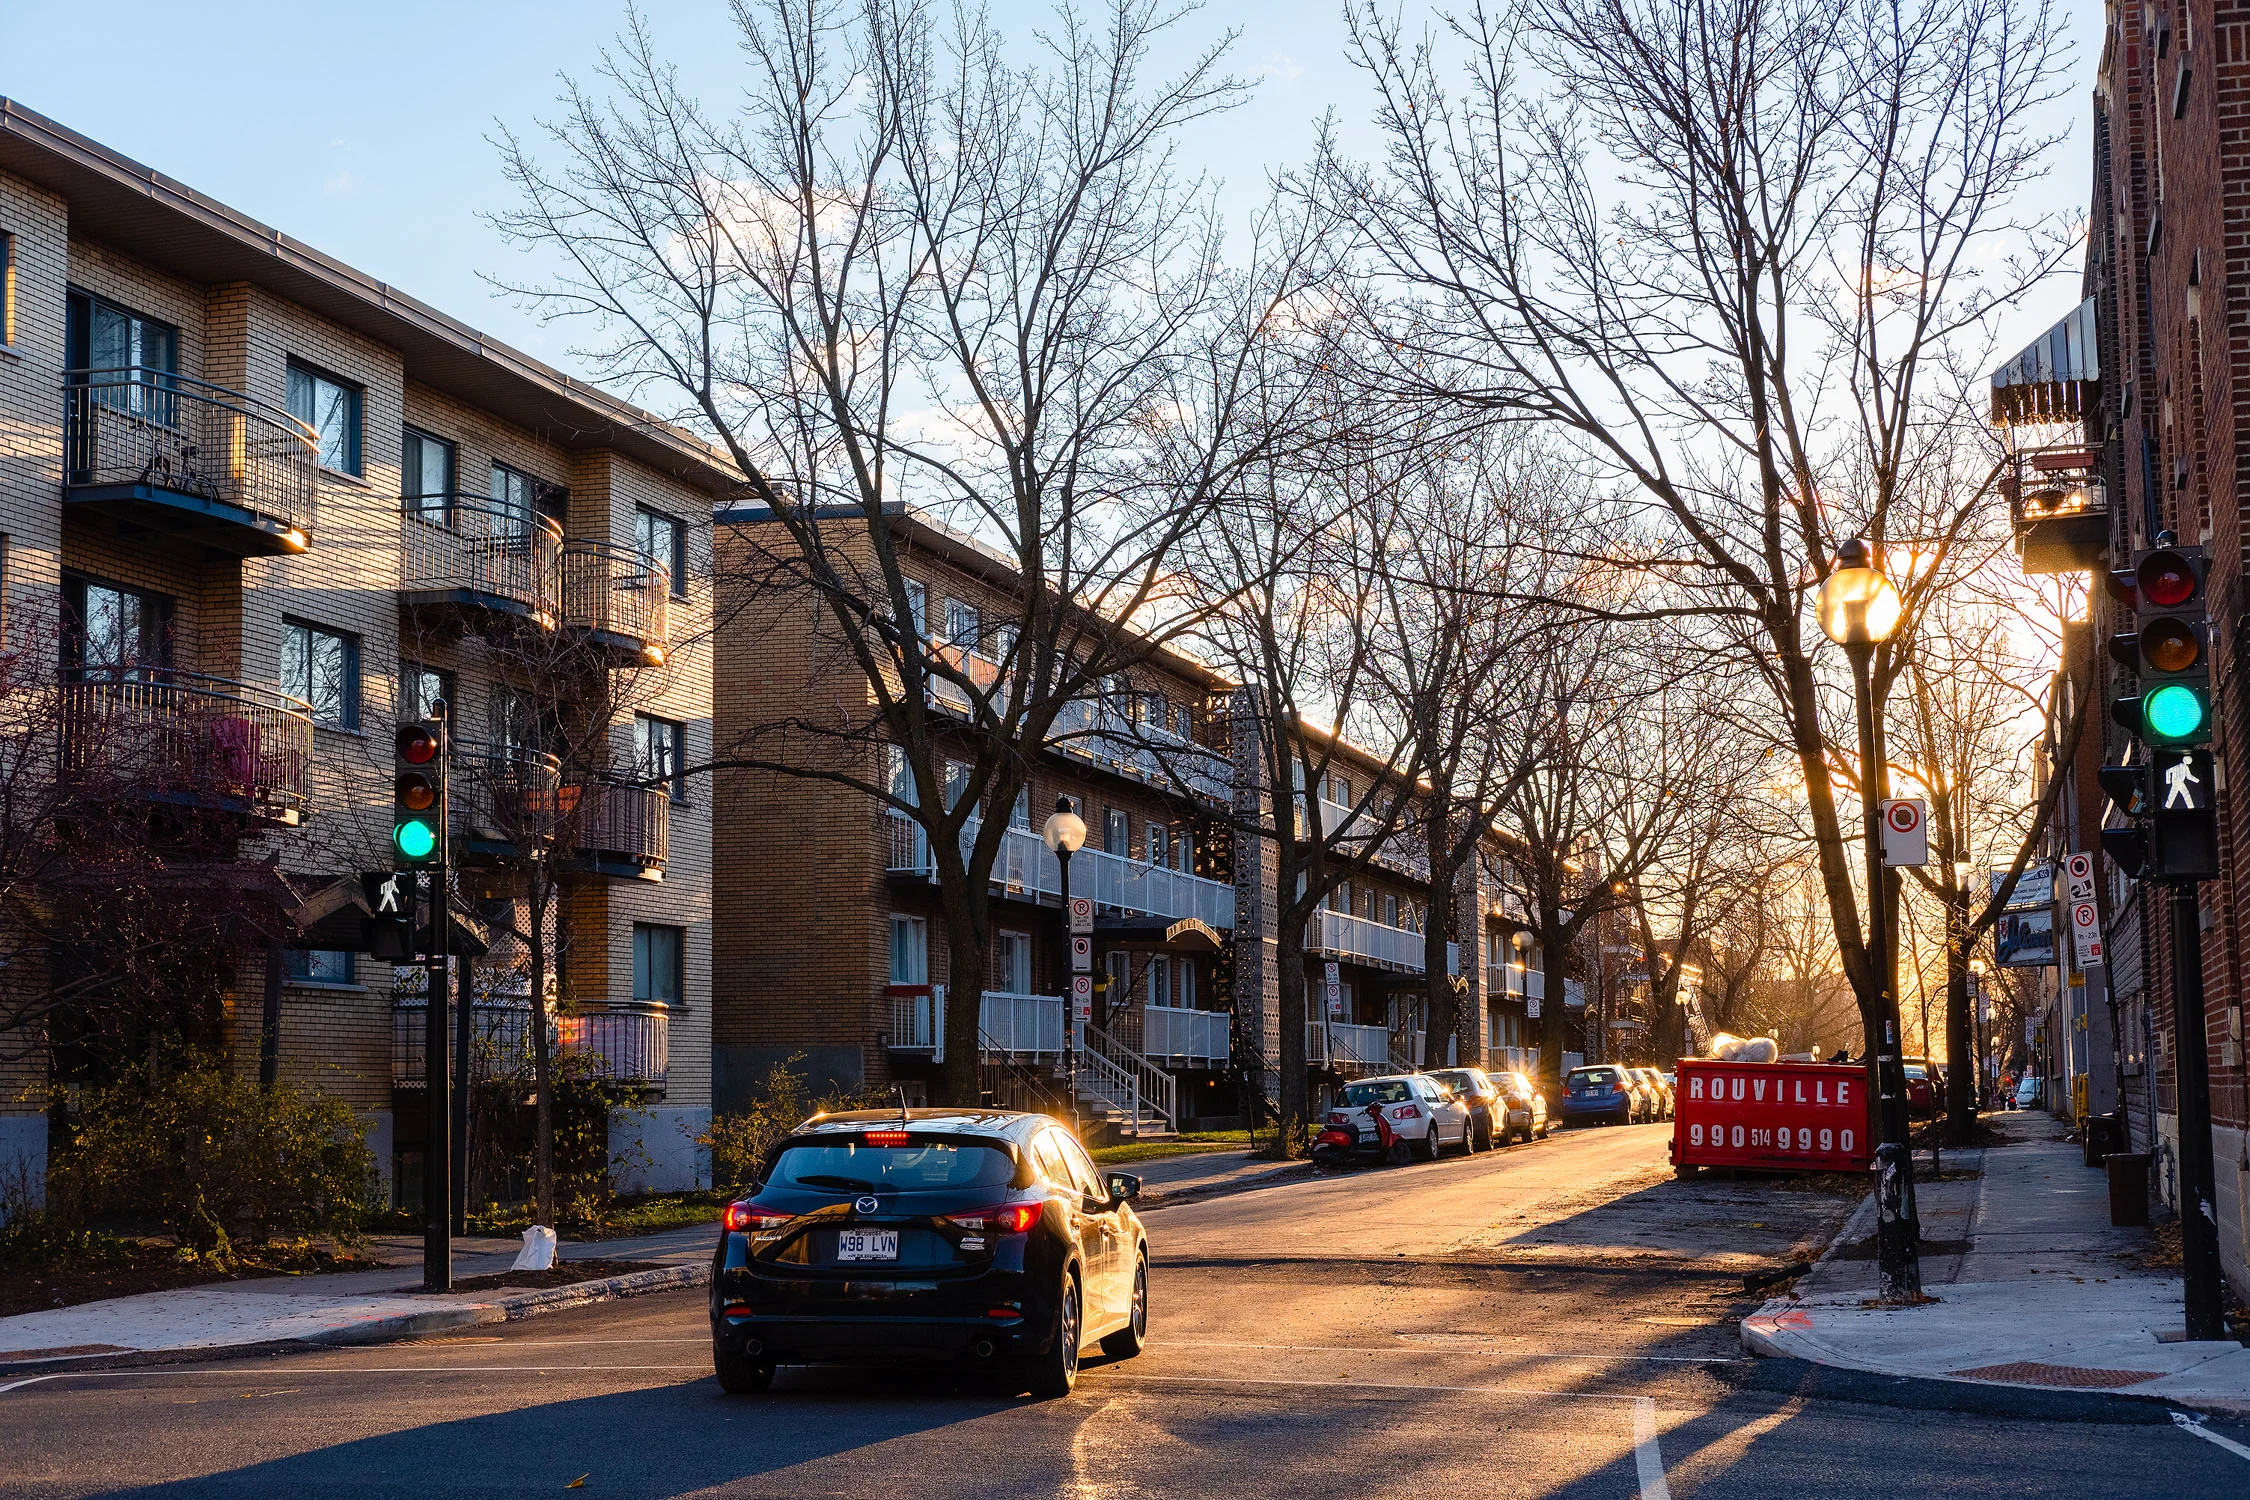
This first image of the apartment buildings is shot at 1/125 f8 to remove camera shake and hints of lens softness. When inspecting the RAF file on the left, we can notice a lot of smudges and over-sharpening artifacts in the center of the image on the tree trunk and branches. The orange handle of the shovel almost bleeds into the brick wall behind. In the xtransformer converted DNG file on the right, each pixel is given space to display information.
RAF left, DNG right compared in Lightroom CC latest version
The 2nd image of a portrait of my friend Jacques is shot at 1/500 f2. This time, the RAF file on the left renders the pores of his forehead with a lot of smudges whereas the xtransformer converted DNG shows a more even and ordered texture. Also, pay attention to the facial hair and notice how the RAF file blends them together instead of keeping them better separated in the xtransformer DNG file.
RAF left, DNG right compared in Lightroom CC latest version
Crash course
In this part of the blog, I'll show you how to use the converter through simple steps. There are two ways to go about this:
converting from within Lightroom
converting externally (my method of use)
My Xtransformer settings.
Here are my settings, inspired by this author and tweaked to my liking (least a. I invite you to try his and mine as well as play around with the software to tweak the results to your liking. Expect your DNG files to be of larger size than your RAF files.
Again, make sure:
Raw Process is set to SMOOTHER. Sharpening to NONE
Default camera profile to Iridient Standard
Settings -> Reduce Processor Utilization to be CHECKED
Settings -> Process Batched Images One by One to be UNCHECKED
My Method (converting externally)
I found that method to be the most effective, clean and ideal for neat file management. This method also allows multiple files to be converted simultaneously using all the cores of multicore CPUs and is faster than the Lightroom Method.
Make sure your computer isn't doing anything important (the software will drastically slow your computer down during conversion)
Import/Move the Fuji RAF files into a folder
Open Iridient Xtransformer
Click on "Select Image(s) to Convert..."
Find the folder that contain the Fuji RAF files
Select All and Open
Go for a walk and wait for the converter to finish
Once finished, go back to the folder that contains the Fuji RAF files and delete all RAF files
Proceed with the photo culling method of your choice (I use Photo Mechanic, you can use Bridge or import all converted files into LR) and import selected files into Lightroom (or Adobe Camera Raw)
In Lightroom, be sure to set sharpness to zero or software default before proceding with your usual Adobe Workflow. (I usually set the sharpness to zero)
Enjoy the results.
The Lightroom Method (converting from within Lightroom)
This method is favorable for quick conversion but does leave quite a mess in the Lightroom library. Not only this way uses a single core of multicore CPUs, it is also the slowest. If the Xtransformer plugin is already installed in Lightroom you can skip to step 4
Open Iridient Xtransformer
Install the Lightroom Plug-in by finding the option in Help -> Install Lightroom Plug-in
Open Lightroom
Import/Find/Select the Fuji RAF file in the Lightroom library
Convert the file using File -> Plug-in Extras -> Process Selected RAF(s) to DNG
Xtransformer will open, convert and leave a converted DNG file next to the original RAF.
Edit the file as you would any other ones.
Be sure to set sharpness to zero or software default before proceding with your usual Adobe Workflow. (I usually set the sharpness to zero)
Enjoy the results
Appreciating the results
I feel my Fuji photographs get very very close to my Nikon's by about 85%. Losing about 15% of image quality for personal life shots and gaining portability, looks, fun factor and social integration turned the X-Pro2 I was using these past months into my favorite and highest recommended daily life documenter.
I will leave you on images processed with such workflow.


